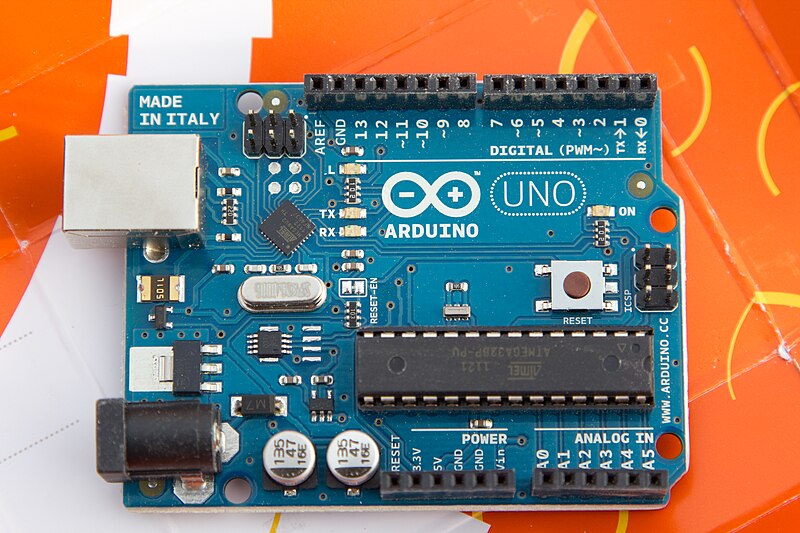
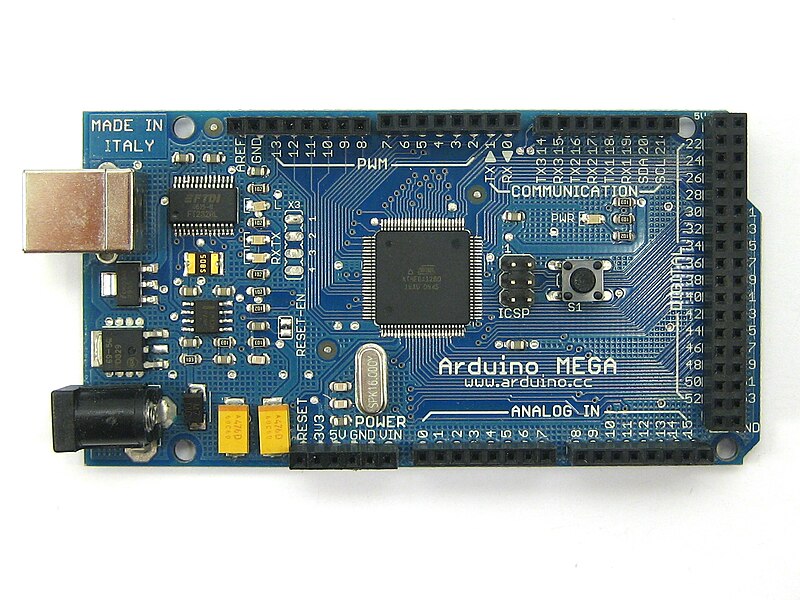
The Arduino web site has the list of libraries available. The language reference page is a fairly complete list of commands built in to the Arduino. Understanding some of the concepts may not be obvious, to someone who hasn't programmed anything before.
The blink sketch used many of the basic things that are needed to get started programming. Have a look at it again:
/*
  Blink
  Turns on an LED on for one second, then off for one second, repeatedly.

  This example code is in the public domain.
 */

// Pin 13 has an LED connected on most Arduino boards.
// give it a name:
int led = 13;

// the setup routine runs once when you press reset:
void setup() {
  // initialize the digital pin as an output.
  pinMode(led, OUTPUT);
}

// the loop routine runs over and over again forever:
void loop() {
  digitalWrite(led, HIGH);   // turn the LED on (HIGH is the voltage level)
  delay(1000);               // wait for a second
  digitalWrite(led, LOW);    // turn the LED off by making the voltage LOW
  delay(1000);               // wait for a second
}
The characters "/*" begin a comment block, and "*/" end that comment block. All text between the "/*" and the "*/" are considered comments. Any new lines and punctuation are allowed. Comments are used in programming to add information for the person reading the code at a later date. The computer doesn't use or look at these values at all. They can be in Dutch, Italian or English, what ever is needed to make things easier for the person looking at the code.
Sometimes a programmer while writing code just wants a quick note about a particular line of code. The lines of code start on the far left, and end at the right, and are only one line long. If a line contains the characters "//" that is the start of a line comment, and end with the end of the line. These are comments for the readers of the code, and not the computer.
The first line of real program is the initial variable declaration. This line is a statement. Program statements start after a comment block, or after another statement. Statements must end with a semi-colon ";".:
int led = 13;
A variable has a type and in this case is an integer specified by the "int" characters. Integers are whole numbers, no fractions or decimal places. For the Arduino, they have a range of -32768 to 32767. For many applications integers are adequate, but if more range is needed, and no negative value are useful, specifying an "unsigned int" will allow a range of 0 to 65535. There are other variable types, and we will get into them more in a bit.
The variable has a name. For this application the name is "led". It doesn't matter what the name is, the computer will only look for this name and work with the value with that name. We can give variables meaningful names, or we can name them a, b, or c, but meaningful names will help maintain the program that is written. Names in programs must start with a letter, and may not contain any spaces or most symbols. After the first letter, there may be numbers and underscores.
The variable can be initialized when declared. For this program, the variable is initialized with 13. This variable will be used to tell the computer what pin this program will control the LED light with. The program didn't need to use a variable for this program, we could have used 13 everywhere "led" is used, but if someday the LED light was moved to another pin, all the 13's would have to be changed to the new value. Using a variable like this, if the LED was moved to another pin, only the variable "led" needs an new initial value and the program is ready to go.
The last character in the statement is the semi-colon notifying the computer that this statement is done. The carriage return/new line doesn't mean anything to the computer. The next statement could start right after the semi-colon. Using white space (indentation, and new lines) makes the program more readable.
Since the "led" variable is declared outside any functions, it is considered a global variable. A global variable is one that can be used inside any function, in this sketch. There are function private variables that are only visible inside the functions where they are declared.
The next line of real program is the function declaration:
void setup() {
This is an entry point for every program. The Arduino always runs some code. It is sort of like an operating system, allowing uploading and running programs. When a new program is started (after upload or reset), the first thing the Arduino loader runs is call the function "setup".
There can be any number of functions in a program. A function is declared with a return value, in this case "void" indicating there is no return value. Some functions may do some calculation or lookup some information and return a value. Functions can return integers and other values as well.
The next part of the function declaration is the function name. There are two functions all Arduino programs must have, "setup" and "loop". If there is a need for a calculate cubic feet function, a function can be created that has the name "CalculateCubicFeet". The names need to be spelled and capitalized properly. A function named "setup" is different than a function named "Setup". Having multiple functions with the same name, just different capitalization's can make reading the code more difficult.
A subtle part of this function declaration is the arguments section. For this function there is nothing being passed to it, so there is an empty pair of parenthesis "()". If there was a function CalculateCubicFeet, to make is flexible, there may be three arguments passed to it like:
int CalculateCubicFeet(int x, int y, int z)
where the three values passed to the function are x,y and z, each and integer. Arguments passed to the function are only visible inside that function. The argument x in CalculateCubicFeet cannot be used in the setup function.
The last bit of the setup function declaration is the "{". The "{" is the start of commands that will be done when this function is called. The other "}" is the last line of the function, and means that is the end of the function. This line doesn't have to be on the same line as the name and the open and close parenthesis but usually is.
Inside the setup function, since it is past the "{" is a library function call "pinMode". Pin mode takes two arguments, the pin to set the mode of and the direction the pin will be when the program starts. The Arduino language reference page has a link to the function "pinMode". The language reference page will describe the function in detail, and offer some examples. This is the same for all built in functions.
There are some built in constants and variables in the Arduino library. Constants are named values that don't change. Variables are named values that may change during the execution of the program. One of the constants that the "pinMode" function uses is "OUTPUT". Writing a program using values other than the constants defined is discouraged, since the program may stop working when used on another computer.
The setup function does one thing, it sets pin 13 (led) to be an output pin. Instead of specifying 13, the program uses the variable "led" which is set to the value 13. Being an output pin means the values are set on those pins. If a switch were connected to pin 5, and there was a desire to read that pin, then using the pinMode function, pin 5 could be set as input:
pinMode(5,INPUT)
Once everything in the setup function is complete, the program will jump back and let the Arduino system have control again. The Arduino system will do whatever housekeeping it needs to and then immediately call the "loop" function.
The loop function is declared almost identically to the setup function. There are no return variables, so the void type is specified. The name happens to be "loop", and that is necessary so the Arduino system knows where to go next. There are no arguments to the function, so there are empty parentheses. The real work starts after the "{".
The first library function call is the "digitalWrite" function call. The digitalWrite function will set the value on one of the pins. There are two arguments to digitalWrite, the pin, and the value. All the digital pins only care about two values, the constants "HIGH" and "LOW". High means that when measured against the ground pin, the value on the pin specified will be about 3 volts. Low means 0 volts when compared to the ground pin.
For this program, pin 13 will be set to the HIGH value to turn the light on. Again, instead of specifying 13, the program uses the variable "led" which contains the value 13.
The next library function call is "delay". The delay function takes one argument, the amount of time to wait in milliseconds. The current program just stops for that much time. The Arduino system is still doing it's thing, but the program written waits that many milliseconds. A programmer can create a variable so the 1000 would have a name, something line "oneSecond" would be good, but it isn't necessary.
The next two lines are like the first two in this function. Calling the library functions digitalWrite and delay are used to turn the LED off and to wait before exiting this function.
Once the function hits the "}", it will return control to the Arduino system. The Arduino system will take care of any housekeeping it needs, then call the loop function again. This process will repeat until the system is powered off.
These introduction posts are long, and I hope the help make the Arduino system understandable. In subsequent posts, there will be more meat regarding doing airplane stuff with and Arduino, but without this basic understanding, any other posts may not be useful. Post any questions or subject area anyone may need help with, and I will try to get more help out there.


